How to SAFELY Use a Rigid Air Compressor

And keep your new Rigid air compressor in good condition.
You just bought a new rigid air compressor. So, what do you need to do to get started?
First, you need to break it in. Locate the black drain valve in the back and open it by turning it to point downward. Pull on the large black knob, the pressure regulator knob, located in the front towards you to unlock it, and turn it counterclockwise all the way until you can’t turn it anymore. Turn the air compressor on and leave it on for about 30 minutes. I’ve heard that doing this helps blow out any gunk or particles that may have gotten trapped inside the tank during manufacturing. With a brand new air compressor, you should do this first before you start using it but you only need to do it once. Because the drain valve is open to let the air out, you see that the pressure in the tank never builds up and is at 0 PSI or pressure per inch.
How to operate a Rigid air compressor:
1. Make sure that the drain valve is closed and the pressure regulator knob is turned counterclockwise all the way.
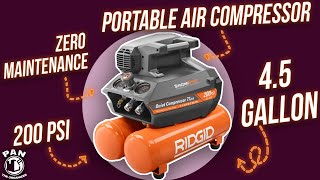
2. Turn on the air compressor and wait until air pressure in the tank gets to its max (it’ll stop running). Max is 150 psi for Rigid pancake air compressor. Then the compressor will shut itself off and automatically turn itself back on when the air pressure in the tank drops as you are using the air compressor.
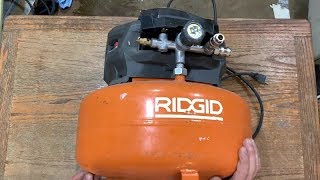
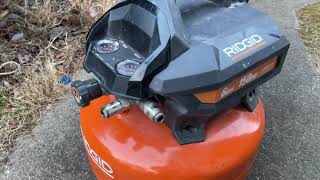
3. Attach the air hose to the compressor. The 2 steel parts at right angle to each other that you see on the right side are air outlets, so this compressor has not 1 but 2 outlets for plugging in your air hose and you connect the hose to an outlet by simply pushing it into the coupler until it snaps in place. (To disconnect it, you have to pull back the sleeve of the coupler on the air compressor, which will release the hose to allow it to be pulled out.)
4. Connect the nailer to the other end of the hose by pulling back the sleeve of the coupler on the hose first and while holding the sleeve in that position, attach the nailer. Once caught in the coupler, the quick connect will not come off unless you pull on the sleeve of the coupler.
5. Use the pressure regulator knob to set the air pressure at the outlet, by turning the knob clockwise. The more you turn clockwise, the higher the PSI. The PSI range that’s appropriate for the nail gun or whatever tool you are using will be specified on the tool. This range for my nailgun is between 70 and 120 psi. I set the outlet pressure to 100 psi for most of my uses. Once the psi level has been set, you can push the knob back to lock it in place. You should never use this air compressor at outlet pressure greater than 150 psi.
6. Once you are done using the air compressor, turn off the air compressor and drain the tank.
7. Turn the pressure regulator knob counterclockwise all the way, so that the outlet pressure is 0.
8. Disconnect the air hose.
9. Pull the ring on the brass safety valve to release the air, and let go when the pressure gauge for the tank reads about 20 PSI.
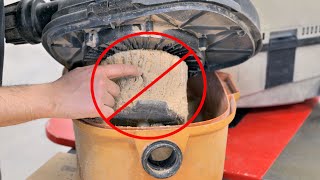
10. Open the drain valve to drain the tank of not just air but as you can see the moisture inside the tank as well. This is very important to do because if you don’t remove this moisture, the condensation inside the tank can cause the tank to start rusting on the inside, so I make sure to empty the tank after every use.
Lastly, you should register your rigid air compressor and tools to get lifetime warranty, which covers normal wear and tear! Do this within 90 days of purchase!!!